MICROBLADING 101
Now that I am completely healed from getting microblading done a few months ago, I am so excited to share the results with you guys!
Last year, I was thinking about getting my eyebrows microbladed, but was too scared to actually try it. I have several girlfriends that have had it done and their eyebrows looked great afterwards. But I also heard stories about it being so painful- and trust me, if there is pain involved I usually won’t volunteer to do it!
But this past Spring, I was chatting with a fellow Southern California mama Bree, and I noticed she also did microblading (here is her IG (@browzbybree). I was SO impressed by her work and she told me all about her process microblading. She promised me it wouldn’t hurt at all and she made it look really natural! I’m so happy I chose Bree to do my brows because not only am I so amazed by the final results, the process was SO easy, quick and painless. I met Bree at her cute salon here in Orange County and right away I was greeted and reassured it would be fast and painless. Bree put a numbing cream on the area she was going to work on before she started. During that time, we talked about what I wanted my brows to look like. I chose my brow color, and the shape I would like. I chose a very light brown color for my brows and I wanted a slight arch for the shape. She did her thing and before I knew it the microblading as all done! With the numbing cream on, I didn’t feel a thing- I was so relieved.
You can get $50 your microblading session with Bree by mentioning my name! You can book an appt here!
Here are some IG Highlight stories I did during my 1st session with Bree so you can see a little bit of the process.

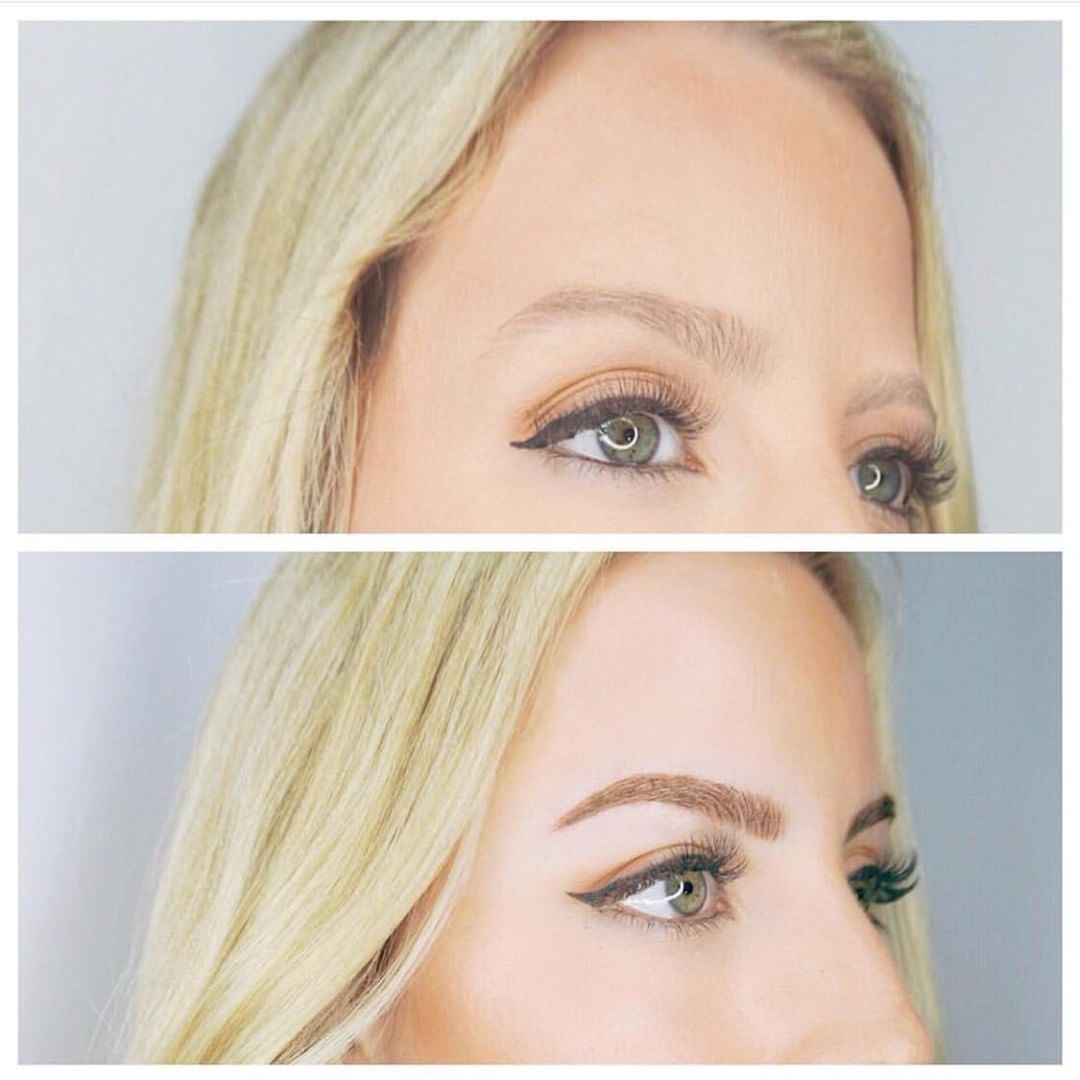
Here is what my brows looked like right after my first microblading session!
After Bree was done, she went over the healing process and gave my a goodie bag with instructions of what to do / not do with my brows after. Just a warning, if you are preparing for a special event or wedding, do the microblading a few months before the event. The healing process takes about a whole month. My eyebrows looked really dark the first week or so, then they started to lighten up. I was really careful about washing them like in the instructions and I applied the balm often. The key to a successful healing of the brows is making sure you apply the balm twice a day, if not more. It will prevent flaking and soothe them. Also, you can’t get water on them for 2 weeks. So I just used a damp washcloth to remove any face makeup around my brows during that time. Once they started healing I was so obsessed with the results! I have loved not having to fill in my brows every day and I love how they always have an arched shape to them. I also love how they frame my face even when I’m not wearing any makeup. It has made such a huge difference in my everyday routine!
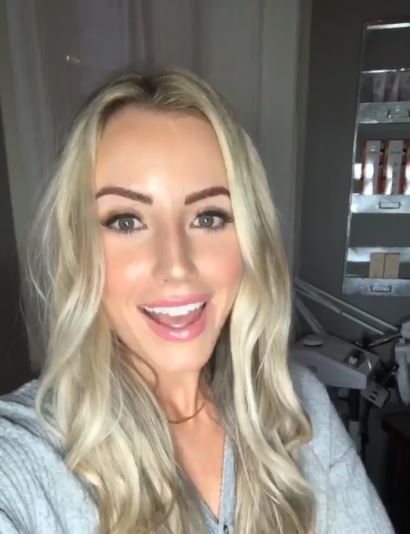
I went in 6 weeks later from my 1st appt for my complimentary check-up with Bree! This touch-up is completely free! During the touch-up, Bree fills in anything that needs fixing to make them look even more perfect. This is also the time you can decide if you want to go darker. I loved my brows, but thought I could go a bit darker. So Bree added a darker shade of color and I loved the results even more. The healing process is pretty much the same as the first time. Now that I’m completely healed and my brows are done, I’m so obsessed!!! Below are some recent pictures of my eyebrows with zero makeup on them.
-Q & A WITH BREE-
What is microblading?
Microblading is a procedure where a specialized hand tool with tiny needles is used in conjunction with pigment to create hair-like strokes on the skin.
How long does the procedure take?
Microblading is typically a 2-step process with the second appointment being 6 weeks after your initial procedure.
The first appointment takes around 2 hours. It will include a consultation to decide the color and shape of your desired brows. After this, measuring and drawing in of the desired shape will be done.
We will continue with the procedure when you are 100% happy with the shape.
When you are happy with the shape, a semi-permanent pigment will be applied with a disposable microblading hand tool to create hair strokes. (This is not a machine.)
Shading can also be done to create more definition, and is included.
A touch-up appointment will be needed 6 weeks after the initial service. This appointment lasts around 1 hour. This touch-up appointment is very important as the skin heals and peels. This will complete your brow service and ensure that your brows look fresh for longer.
How long will it last?
Microblading typically lasts between 1-3 years depending on your after care and skin type
Does it hurt?
We use a lidocane cream before the service and wait for numbness to occur before we start the procedure, and most clients report little to no discomfort at all.
How long is the healing time?
Although there is no downtime required after a microblading procedure, it will take 7-14 days to heal and around a month for the color to fully set in.
Aftercare instructions will be given to you at your procedure that are tailored to your skin type.
The pigment color is matched to your brow color!